
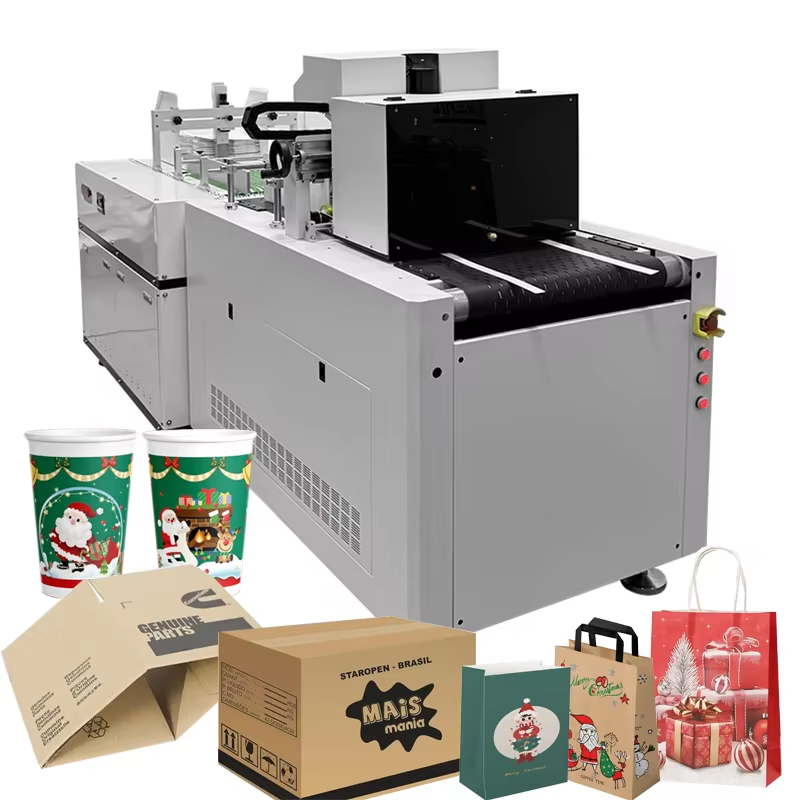
Pre-Job Preparation and Machine Setup
To operate a cardboard printing machine efficiently, you must begin with thorough pre-job preparation. Based on my experience working with industrial printing equipment at Shenzhen Shenchuangxing Technology Co., Ltd., I've observed that 70% of production delays stem from inadequate setup procedures. Start by reviewing your job specifications and gathering all necessary materials, including the correct printing plates, inks, and substrate samples. Inspect the machine for any visible wear or damage, paying special attention to the anilox rollers and doctor blades, as these components directly impact print quality. Ensure your work area is organized, with adequate space for material handling and proper utility connections—power, compressed air, and ventilation systems must meet manufacturer specifications. Document all setup parameters, including ink formulations and plate mounting positions, to ensure repeatability across production runs. This systematic approach reduces setup time by up to 40% and minimizes the risk of costly errors during high-volume production.
Plate Mounting and Registration Precision
Accurate plate mounting is critical for achieving professional results on any cardboard printing machine. The process requires careful attention to detail: clean both the plate cylinder and the photopolymer plate with approved solvents to remove any residue that could affect adhesion. Apply mounting tape evenly, avoiding air pockets or overlaps that could cause plate lift during operation. Use automated mounting systems with laser registration whenever possible—these systems reduce human error and ensure precise alignment of registration marks. According to industry standards from the Flexographic Technical Association (FTA), proper plate registration should achieve tolerances within ±0.1mm to prevent color shifting and blurry images. For multi-color jobs, implement trapping techniques by creating small overlaps between adjacent colors, typically spreading lighter colors into darker ones to hide minor misregistration. This practice is essential when printing corrugated cardboard, as the substrate's natural texture can amplify any alignment issues.
Ink Management and System Configuration
Proper ink management determines both print quality and operational efficiency. Select ink formulations based on your substrate type—water-based inks work best for porous corrugated materials, while UV-cured inks offer faster drying times for coated cardboard. Use a viscometer to monitor ink viscosity continuously; ideal ranges typically fall between 18-25 seconds (Zahn Cup #2) for water-based flexo inks. Configure your ink delivery system with enclosed chamber doctor blades to control film thickness and prevent contamination. The anilox roller selection is crucial—choose cell volumes between 2.8-4.0 BCM for solid coverage on cardboard, or 1.5-2.5 BCM for fine details and halftones. Implement closed-loop circulation systems to maintain consistent ink temperature and viscosity, reducing waste by up to 15% compared to open systems. Regularly check ink pH levels (maintain 8.5-9.5 for water-based inks) to prevent drying issues and ensure proper adhesion to the cardboard surface.
Machine Calibration and Pressure Optimization
Calibrating your cardboard printing machine requires systematic adjustment of multiple parameters. Begin with impression pressure settings—excessive pressure causes dot gain and plate damage, while insufficient pressure results in poor ink transfer. Use fingerprinting procedures to establish baseline data for dot gain, then create compensation curves to maintain tonal accuracy. Adjust web tension carefully; corrugated cardboard requires lower tension (typically 15-25 lbs/inch) than film substrates to prevent crushing the flutes. For servo-driven systems, configure longitudinal and lateral registration parameters through the PLC interface, ensuring synchronization between printing units and die-cutting stations. Run test prints at actual production speed for at least 15 minutes before recording final settings, allowing the machine to stabilize thermally and mechanically. Document all calibration values, including anilox roller specifications, doctor blade angles, and drying temperatures, to facilitate quick changeovers between jobs.
Production Monitoring and Quality Control
Continuous monitoring during production ensures consistent output from your cardboard printing machine. Implement inline inspection systems using camera-based automatic registration controls that adjust parameters in real-time, reducing waste by detecting defects immediately. Monitor color accuracy using spectrophotometers rather than visual judgment—industry standards like ISO 12647-6 recommend maintaining Delta E values below 3.0 for brand color consistency. Check registration accuracy every 500 impressions, and inspect for common defects such as ghosting, mottling, or pinholing. Ghosting often indicates anilox cell filling or ink formulation issues, while pinholing may result from excessive ink viscosity or contaminated rollers. Maintain a production log documenting any adjustments made, environmental conditions (temperature and humidity affect cardboard behavior significantly), and substrate batch variations. This data builds a knowledge base for troubleshooting and process optimization.
Maintenance Protocols for Long-Term Efficiency
Preventive maintenance extends equipment life and sustains production efficiency. Clean the cardboard printing machine thoroughly after every shift—ink residue hardens quickly and becomes difficult to remove, potentially damaging anilox rollers. Use specialized cleaning solutions for ceramic anilox rollers to avoid cell damage, and replace doctor blades every 2-4 million impressions depending on wear patterns. Lubricate all moving parts according to the manufacturer's schedule, typically every 500 operating hours for bearings and gears. Inspect vacuum feed systems weekly for leaks or blockages that could cause misfeeds, particularly when handling recycled cardboard with varying surface characteristics. Schedule monthly deep-cleaning sessions for ink chambers and circulation systems to prevent bacterial growth in water-based inks. Keep detailed maintenance records to identify wear patterns and predict component replacements before failures occur.
Troubleshooting Common Operational Issues
Even well-maintained cardboard printing machines encounter issues requiring swift resolution. When facing misregistration, first check plate mounting and cylinder runout—Total Indicator Runout (TIR) should not exceed 0.025mm. For smudging or ink transfer problems, verify that drying systems are operating at correct temperatures (typically 120-150°F for water-based inks) and that web tension isn't causing slippage. If experiencing uneven ink density, clean the anilox roller immediately; cell volume reduction of just 10% significantly impacts print quality. Address static electricity issues with ionizing bars, as cardboard's low moisture content generates static that attracts dust and causes print defects. When print defects appear, change only one variable at a time during troubleshooting to isolate root causes effectively. Build a defect reference library with photographic examples and solutions to train operators and reduce future downtime.