EN
EN

Why Glass Requires a Different Approach in UV Digital Printing
Glass presents unique challenges as a printing substrate. Unlike porous materials such as paper or wood that absorb ink, glass is non-porous and has an extremely smooth surface with low surface energy. This means UV ink deposited by a uv inkjet printer does not naturally grip the glass surface. Without proper preparation, UV printed designs on glass can scratch off with moderate pressure, peel under humidity or temperature changes, or fail to withstand standard cleaning with glass cleaner. Successful uv printing glass applications must address three core factors: surface cleaning to remove oils and contaminants, adhesion promotion to create a mechanical or chemical bond layer, and curing parameter optimization to ensure the UV ink fully polymerizes on the coated glass surface. Skipping any of these steps risks print failure, wasted materials, and dissatisfied end customers.
Step One: Surface Cleaning and Contamination Control
The first and most critical step in uv printing glass is thorough surface preparation. Glass arrives from suppliers with invisible contaminants including finger oils, silicone residues from manufacturing, dust, and protective coating films. Even a small amount of oil or silicone can prevent UV ink from bonding. The recommended cleaning procedure starts with wearing clean nitrile gloves to avoid transferring skin oils to the glass surface. Use a lint-free cloth and a residue-free glass cleaner, wipe the entire print area in one direction rather than in circular motions, which can spread contaminants. For heavily soiled or long-stored glass, a two-stage process using 90 percent or higher isopropyl alcohol followed by glass cleaner provides thorough decontamination. After cleaning, avoid touching the print surface and begin printing promptly, as airborne dust resettles on glass within minutes in workshop environments.
Step Two: Adhesion Promotion Methods for UV Printing on Glass
After cleaning, the glass surface requires an adhesion promoter to create the bond between the UV ink and the glass substrate. Two common methods exist for uv printing glass projects. The first uses a liquid primer or adhesion promoter applied with a lint-free cloth or foam applicator in a thin, even layer across the print area. This chemical primer modifies the glass surface at a molecular level, increasing surface energy so UV ink droplets spread and bond properly. Wait times after primer application typically range from 30 seconds to 2 minutes depending on ambient temperature and humidity before printing can begin. The second method uses a flame treatment or corona discharge system that temporarily alters the glass surface energy through oxidation, though this equipment adds cost and is more common in high-volume production lines. For most small to medium print shops using a desktop UV flatbed printer with a 20 by 30 centimeter or larger bed, the liquid primer approach offers a practical balance of effectiveness and operational simplicity. Testing adhesion on a scrap piece of the same glass type before committing to a production run is always recommended.
Step Three: Printer Settings and Curing Optimization
Once the glass is cleaned and primed, dialing in the correct printer parameters determines print outcome. UV ink requires sufficient ultraviolet light energy measured in millijoules per square centimeter to fully cure or polymerize. Undercured ink remains soft and poorly bonded, while overcured ink can become brittle and crack under thermal stress. Most uv inkjet printers allow operators to adjust UV lamp intensity and the number of passes the printhead makes over each area. For uv printing glass, reducing printhead speed and increasing lamp power relative to standard settings for paper or plastic typically improves adhesion because the ink has more dwell time to wet the primed surface before the UV light triggers curing. Print resolution settings between 720 and 1440 dpi using micro-piezo printhead technology deliver good results for decorative glass applications including photo panels, signage, and awards. White ink underbase settings deserve special attention: printing a white layer first, curing it partially, and then printing CMYK color on top produces vivid, opaque images on clear glass. Without a white underbase, colors appear washed out and translucent when viewed against a window or light source.
Step Four: Post-Print Handling and Quality Verification
After the print cycle completes, proper post-print handling prevents damage before the ink reaches its full bond strength. Although UV ink cures instantly to a dry touch, the chemical bond between the ink, primer, and glass continues to strengthen over the next 24 to 48 hours through a process called post-cure adhesion build. During this period, avoid cleaning printed glass with solvents, stacking printed pieces face-to-face, or exposing them to extreme temperature swings. To verify print quality, perform a simple cross-hatch tape test on a test piece or an inconspicuous area of the production piece. Using a sharp blade, score a grid pattern through the ink layer, apply a piece of standard adhesive tape firmly over the scored area, and pull the tape away at a 180-degree angle. If less than 5 percent of the ink squares lift off, the adhesion is considered acceptable for most indoor decorative applications. For outdoor signage or glass items that will be handled frequently, a more rigorous testing protocol using accelerated weathering or abrasion testing may be warranted.
A Decor Studio Masters UV Glass Printing for Custom Projects
A home decor studio specializing in personalized photo gifts initially produced canvas prints and acrylic photo blocks using dye-sublimation. When clients began requesting custom printed glass panels for kitchen backsplashes and bathroom wall art, the studio faced a material challenge: sublimation does not work on glass without a special polymer coating. After researching alternatives, the studio invested in a desktop uv inkjet printer with a 30 centimeter bed and developed a standardized workflow for uv printing glass. Through trial and error across 15 test pieces, they identified the right combination of isopropyl alcohol cleaning, a specific UV adhesion primer compatible with soda-lime float glass, and printer settings of 1440 dpi resolution with a 30 percent increase in UV lamp power over the default configuration. The result was durable glass prints that passed the cross-hatch tape test and withstood bathroom humidity conditions without delamination. The studio now offers glass printing as a premium product line with higher margin than their canvas and acrylic categories, and they credit their systematic approach to testing and process documentation as the reason they avoided costly production failures during the learning phase.
Choosing the Right Equipment and Consumables for UV Glass Printing
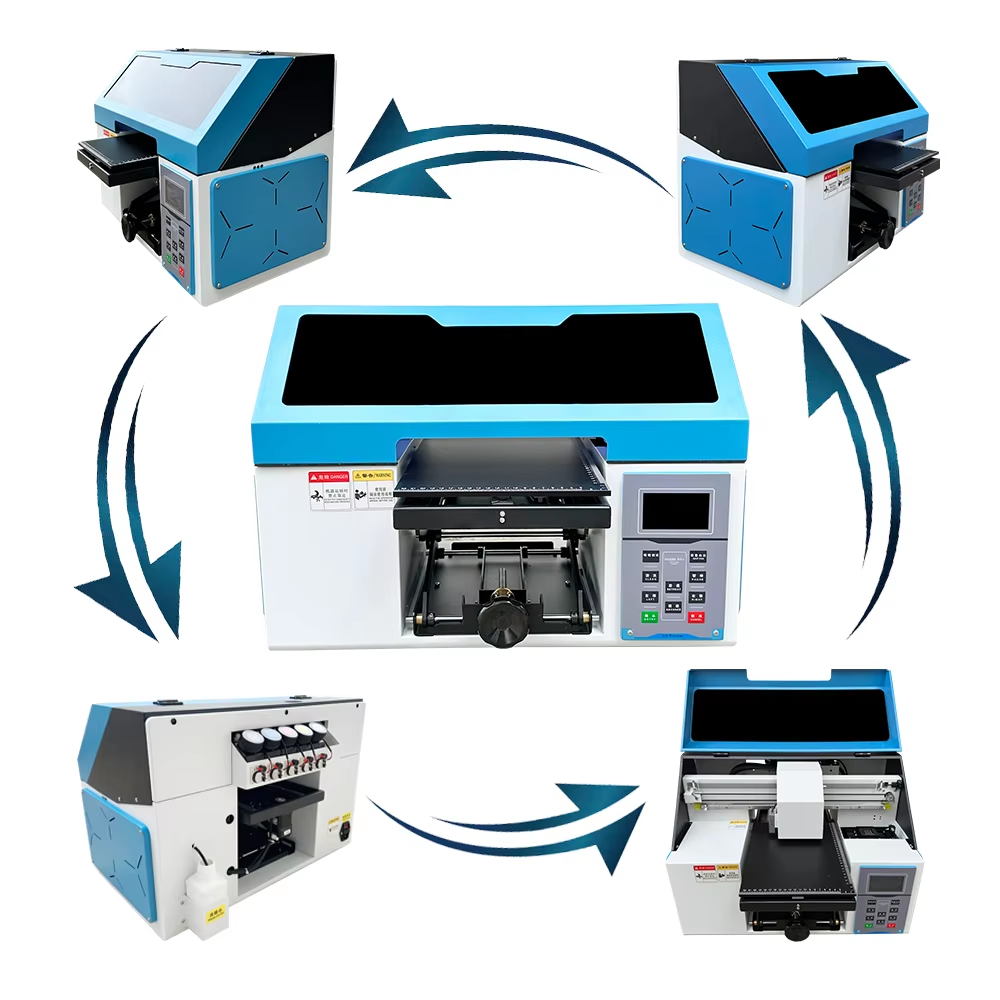
Selecting equipment and consumables specifically suited for uv printing glass reduces trial-and-error time and increases production success rates. A UV flatbed printer with adjustable UV lamp power gives operators the flexibility needed to fine-tune curing for the low surface energy of glass. The printer should also support white ink capability, as a white underbase is essential for opaque, vibrant prints on clear glass. Print resolution of at least 1440 dpi ensures that photo-quality detail is preserved in decorative glass applications. On the consumables side, use only the adhesion primer recommended by the ink manufacturer or confirmed through testing, as generic primers may not be chemically compatible with specific UV ink formulations. Record curing settings, primer brand and lot number, and glass type for each production batch to build a reference database that speeds future job setup. Finally, when sourcing the printer, verify that the supplier holds quality management certifications such as ISO 9001 and that the equipment carries CE certification under relevant standards including EN IEC 62368-1, as these provide baseline assurance of manufacturing quality and product safety compliance.
Questions and Answers
Can any UV printer print on glass?
Most UV flatbed printers can print on glass, but the results depend heavily on whether the proper adhesion promotion steps are followed. A printer that produces excellent results on acrylic or metal may still need primer, specific curing settings, and process adjustments to achieve durable prints on glass. Testing on the actual glass type intended for production is the only reliable way to confirm compatibility.
Why does UV printed glass need a primer?
Glass has a naturally low surface energy, which means liquids bead up on it rather than spreading and bonding. A primer or adhesion promoter chemically modifies the glass surface to increase its surface energy, allowing UV ink droplets to wet the surface and form a strong mechanical and chemical bond as they cure. Without primer, UV ink sits on top of the glass without proper adhesion and can be easily scratched or peeled off.
How durable is UV printing on glass?
With proper preparation including thorough cleaning, correct primer application, and optimized curing settings, UV printing on glass can withstand normal handling, cleaning with non-abrasive glass cleaner, and indoor environmental conditions for years. For outdoor applications, the UV-cured ink layer itself is UV-resistant, but the glass-to-ink bond may degrade over extended exposure to direct sunlight, rain, and freeze-thaw cycles unless the glass edge seal and primer system are rated for exterior use.
Table of Contents
- Why Glass Requires a Different Approach in UV Digital Printing
- Step One: Surface Cleaning and Contamination Control
- Step Two: Adhesion Promotion Methods for UV Printing on Glass
- Step Three: Printer Settings and Curing Optimization
- Step Four: Post-Print Handling and Quality Verification
- A Decor Studio Masters UV Glass Printing for Custom Projects
- Choosing the Right Equipment and Consumables for UV Glass Printing
- Questions and Answers